View and manage resources in the web UI
COMMERCIAL FEATURE: Access the web UI in the packaged Sensu Go distribution. For more information, read Get started with commercial features.
You can view and manage Sensu resources in the web UI, including events, entities, silences, checks, handlers, event filters, and mutators.
Use the namespace switcher
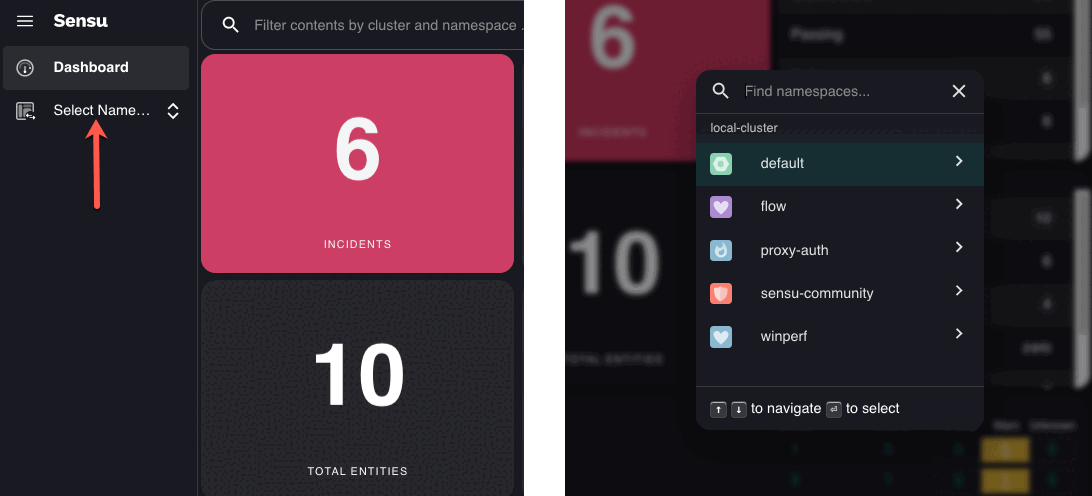
Beyond the homepage, the web UI displays events, entities, and resources for a single namespace at a time.
By default, the web UI displays the default namespace.
To switch namespaces, select the menu icon in the upper-left corner or press the Ctrl+K keyboard shortcut and choose a namespace from the dropdown.
NOTE: The namespace switcher will list only the namespaces to which the current user has access.
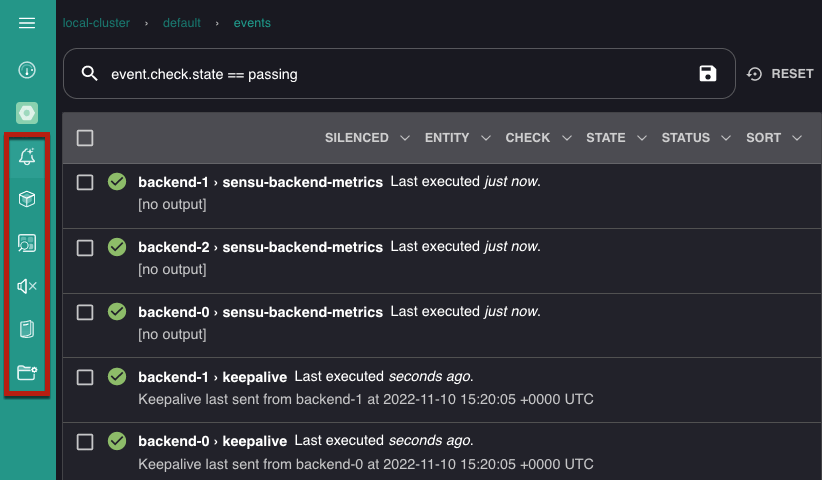
When you switch to a namespace, the left navigation menu loads so you can select specific pages for events, entities, services, silences, catalog, and configuration, which includes checks, handlers, event filters, and mutators:
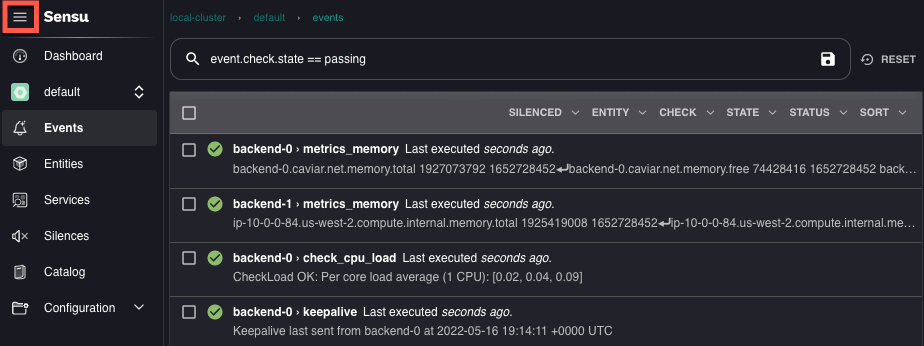
Click the ☰ icon at the top of the left-navigation menu to expand the menu and display page labels:
Manage events
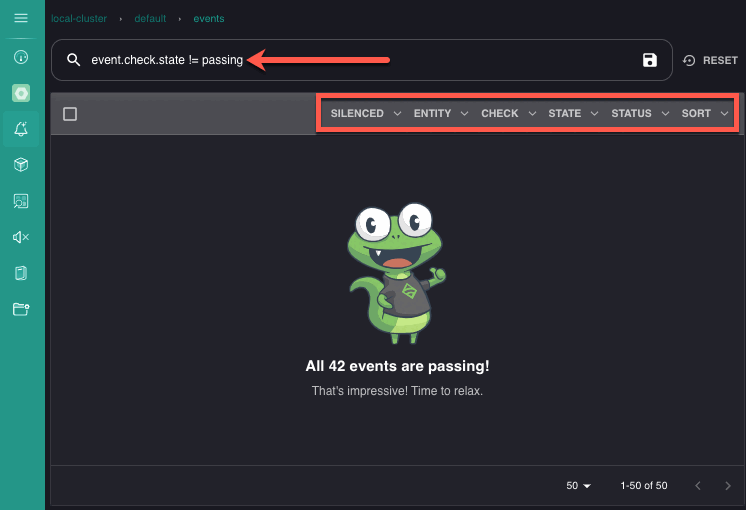
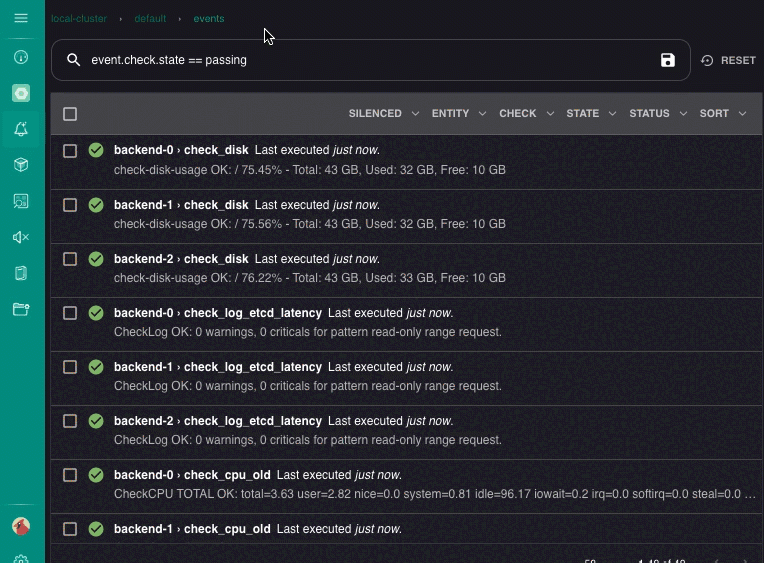
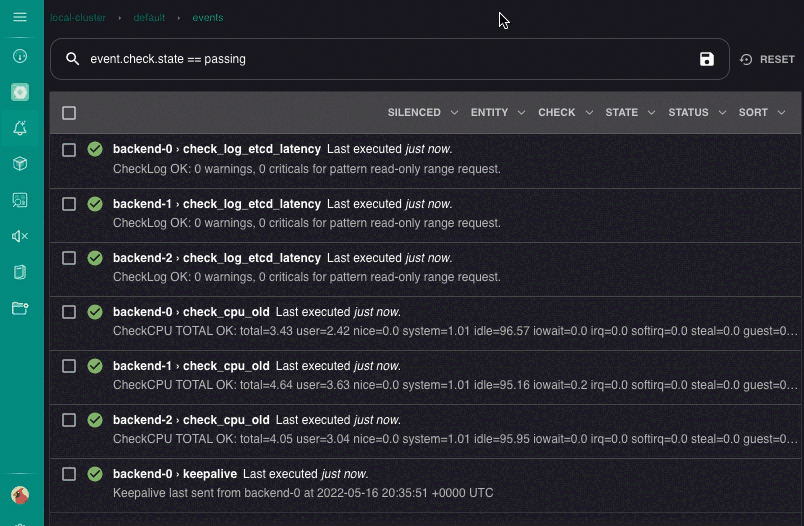
The Events page opens by default when you navigate to a namespace, with an automatic filter to show only events with a non-passing status (i.e. event.check.state != passing).
The menu bar at the top of the events list includes several other options for filtering and sorting events:
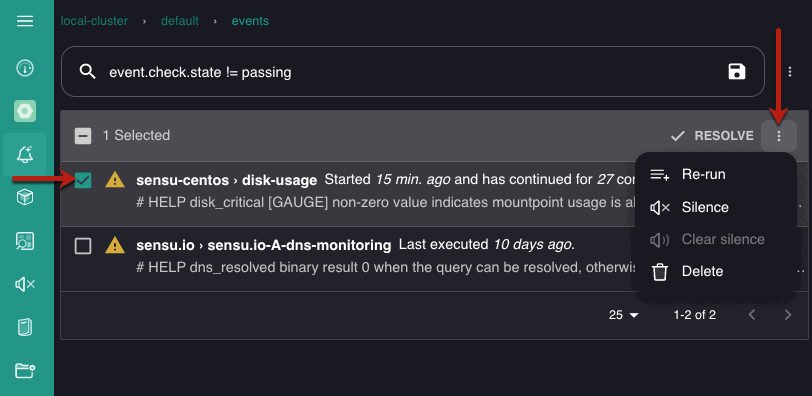
Click the check boxes to select one or more events and resolve, re-run, silence, or delete them directly from the Events page:
Click an event name to view details like status, output, number of occurrences, labels and annotations, related check configuration (if the event was produced by a service check), and entity summary, as well as a timeline that displays the event’s last 20 statuses at a glance:
Manage entities
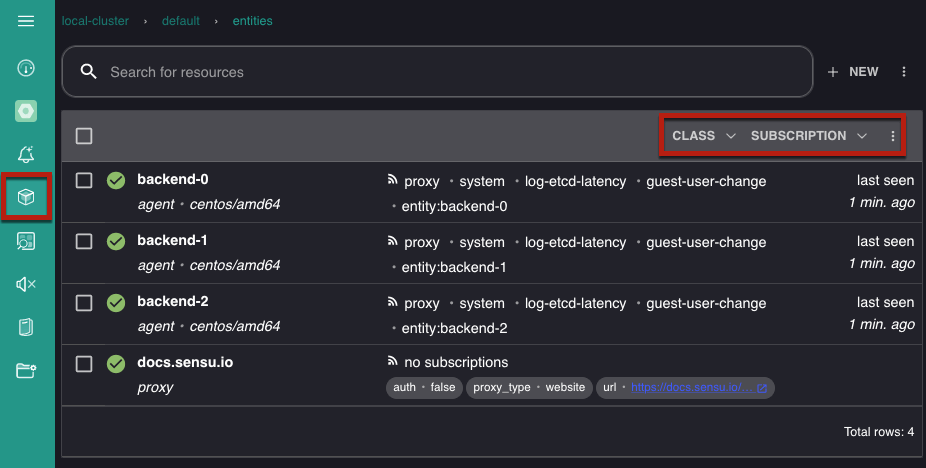
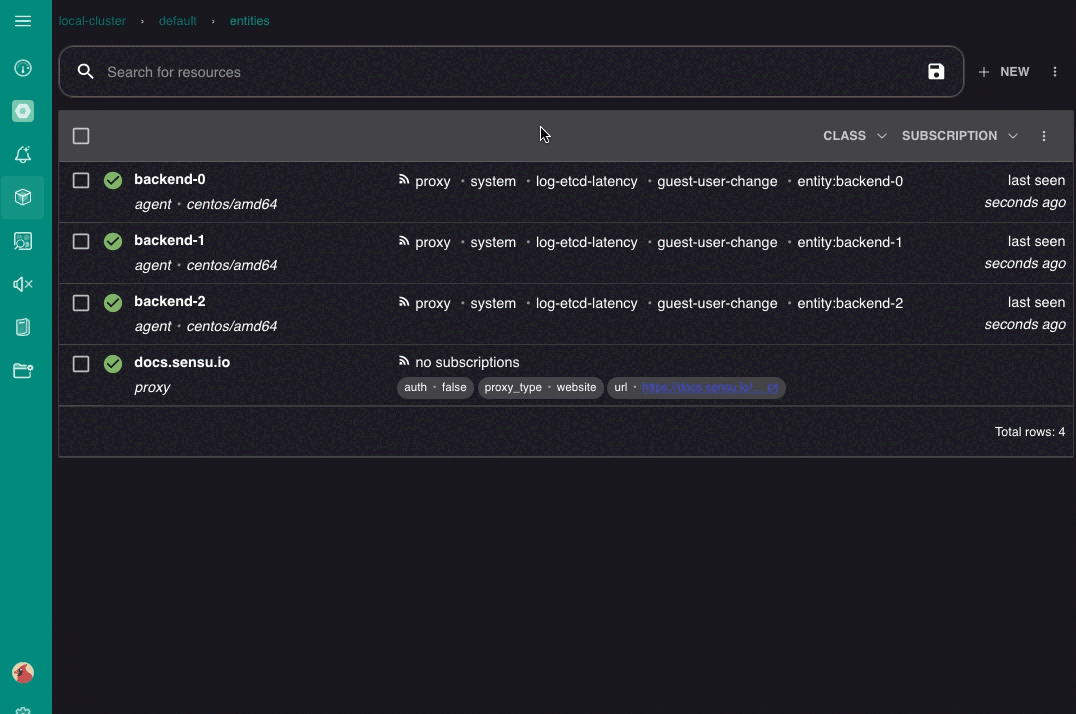
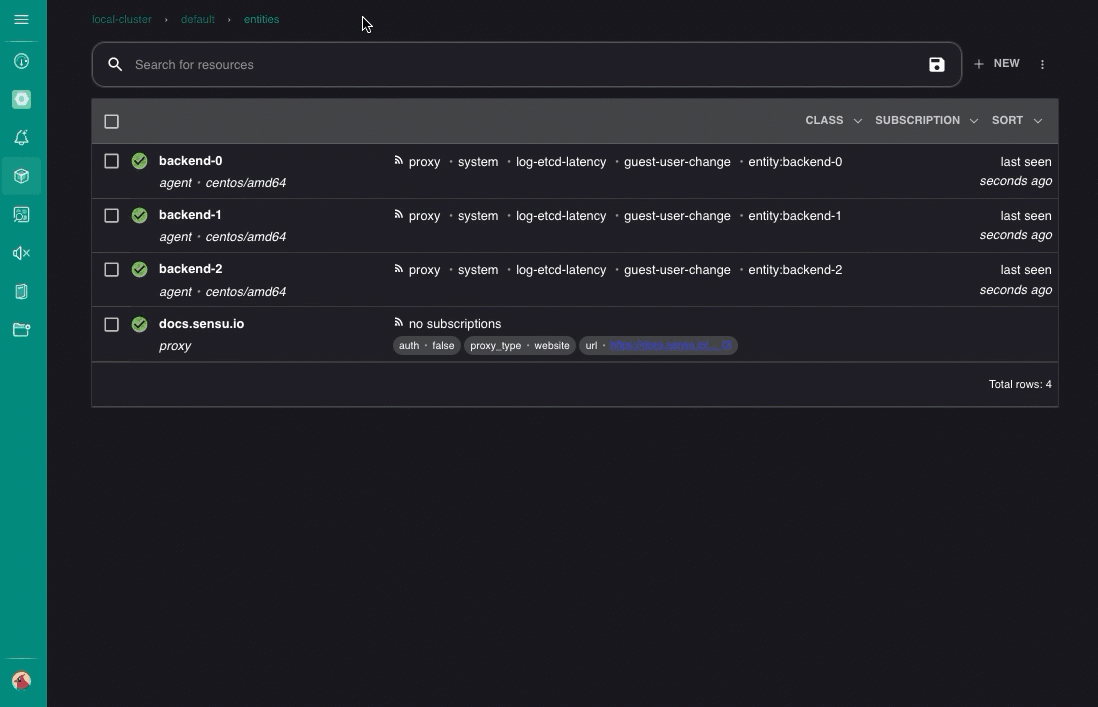
The Entities page provides real-time inventory information for the namespace’s endpoints under Sensu management. The top row of the entities list includes options for filtering and sorting entities on the page:
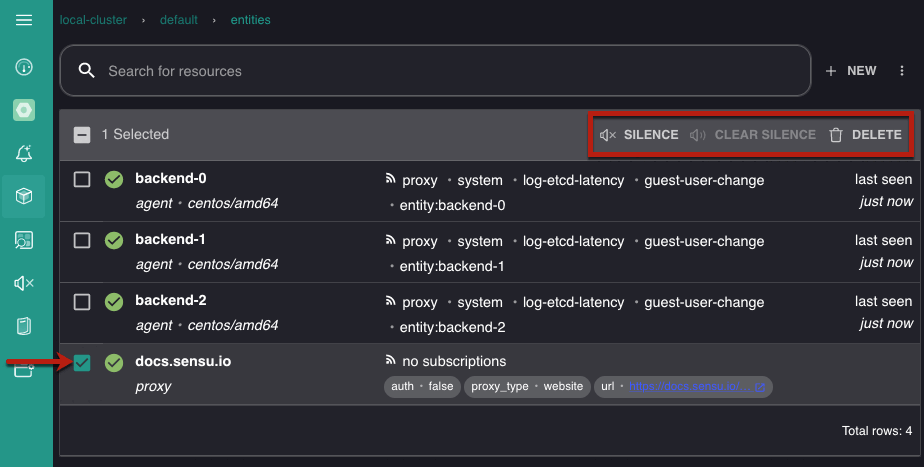
Click the check boxes to select one or more entities and silence or delete them directly from the Entities page:
Click an entity name to view details about the entity’s creator, agent version (for agent entities), subscriptions, labels and annotations, associated events, and properties:
Manage services
The Services page includes a module to help you build and configure service entities with service components and rule templates for business service monitoring (BSM). Read Build business service monitoring for details about the web UI BSM module.
Manage silences
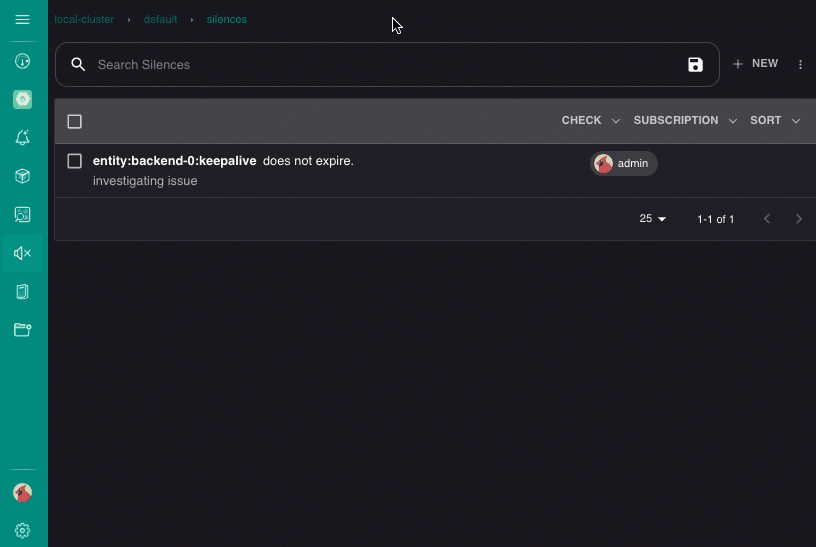
Create silences by check or subscription name and clear silences in the web UI Silences page. The Silences page lists all active silences for the namespace. The top row of the silences list includes options for filtering and sorting silences on the page:

Click + NEW to open a dialog window and create silences for individual events, by check or subscription name, or by entity:
You can also silence individual checks and entities from their detail pages in the web UI.
After you create a silence, it will be listed in the web UI Silences page until you clear the silence or the silence expires.
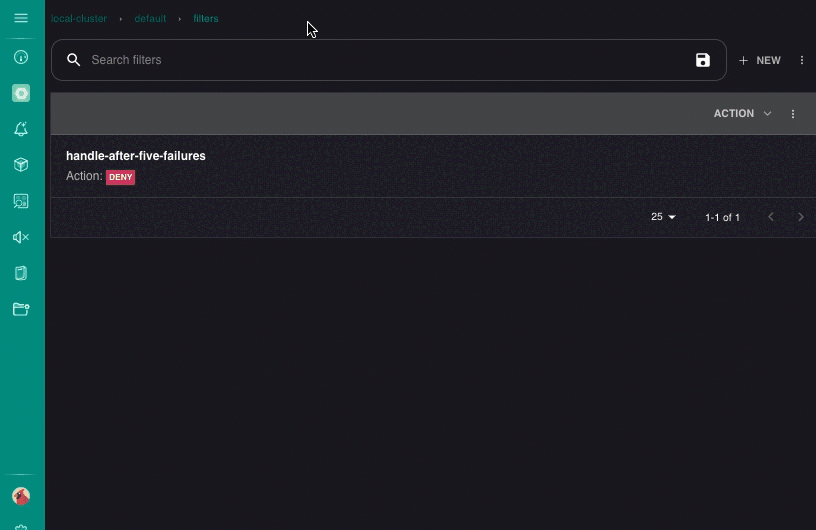
Manage configuration resources
Under the Configuration menu option, you can access assets, checks, event filters, handlers, mutators, pipelines, role-based access control (RBAC) resources, and secrets. Each resource page lists the namespace’s resources. The top row of each page includes options for filtering and sorting the listed resources.
Click a resource name to view the resource’s detail page, where you can review more information about the resource and edit or delete it.
On the Checks page, click the check boxes to select one or more checks to execute, silence, unpublish, or delete them.
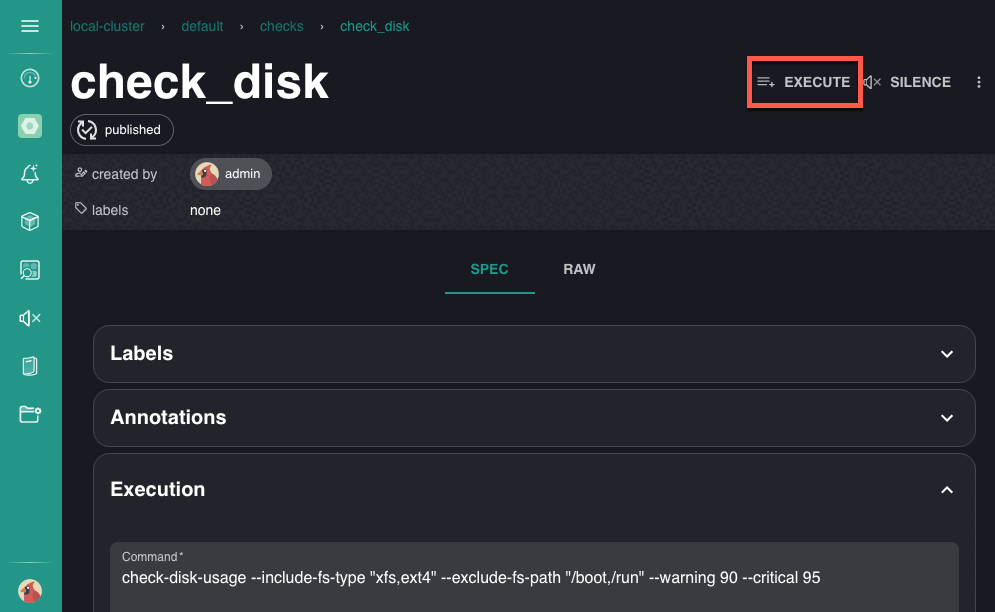
Execute checks on demand
You can execute individual checks on demand and on any agent from each check’s detail page to test your observability pipeline.
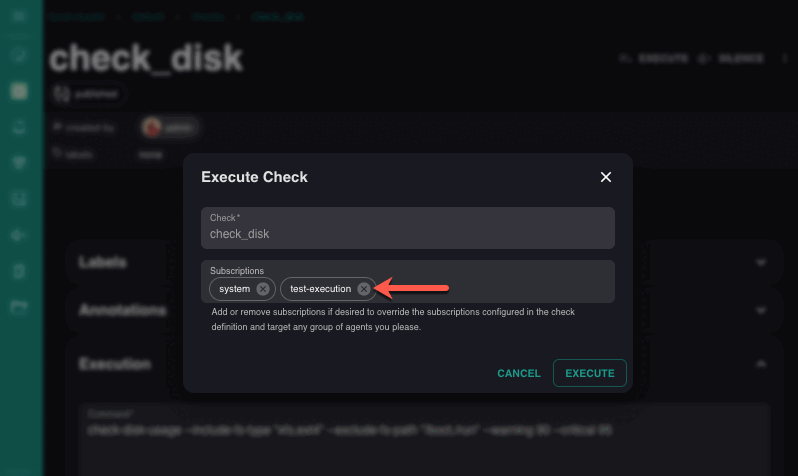
Click EXECUTE to open the Execute Check dialog window:
In the Execute Check dialog window, you can execute the check according to its existing subscriptions or add and remove subscriptions to execute it on specific agents.
NOTE: Changing the subscriptions for ad hoc execution in the Execute Check dialog window will not make any changes to the existing subscriptions in the check definition.
NOTE: If you manually execute a round robin check in the web UI, Sensu will execute the check on all subscribed agents.
After the manual execution, the check will run as scheduled in round robin fashion.
To manually execute a round robin check on a single agent, specify the agent’s entity name subscription in the Execute Check dialog.
For example, if the entity is named webserver1, use the subscription entity:webserver1.
View resource data in the web UI
You can view and copy the YAML or JSON definition for any event, entity, or configuration resource directly in the web UI.
View resource data for an event or entity
To view and copy the YAML and JSON definitions for any event or entity in the web UI:
- Open the individual resource page for the event or entity.
- Click ⋮ at the top-right of the page.
- Select </> Data to open the Resource Data dialog window.
- In the Resource Data window, click the yaml or json button to select the format.
- Click the copy button at the top-right of the Resource Data window to copy the resource definition.
This example shows how to view and copy the resource data for an event:
View resource data for a configuration resource
To view and copy the YAML and JSON definitions for any configuration resource in the web UI:
- Open the individual resource page.
- Click RAW.
- In the resource data field, click the yaml or json button to select the format.
- Click the copy button at the top-right of the resource data field to copy the resource definition.
This example shows how to view and copy the resource data for an event filter: